The Devil’s Grey Playground
Last week I jumped into literal day 1 of learning Blender for juicing up my AfterEffects offerings. As of today I have:
- 10 in progress blender files
- 3 recorded time lapses
- 7 tutorials in my YouTube “watch later” playlist
- 15 browser tabs opened to different shader/geometry setups
- 1 AfterEffects project (from day 1)
- at least 2 dreams about making 3d meshes
- at least a dozen new modeling ideas
- 0 concrete ideas for AfterEffects implementation
How did we get here?
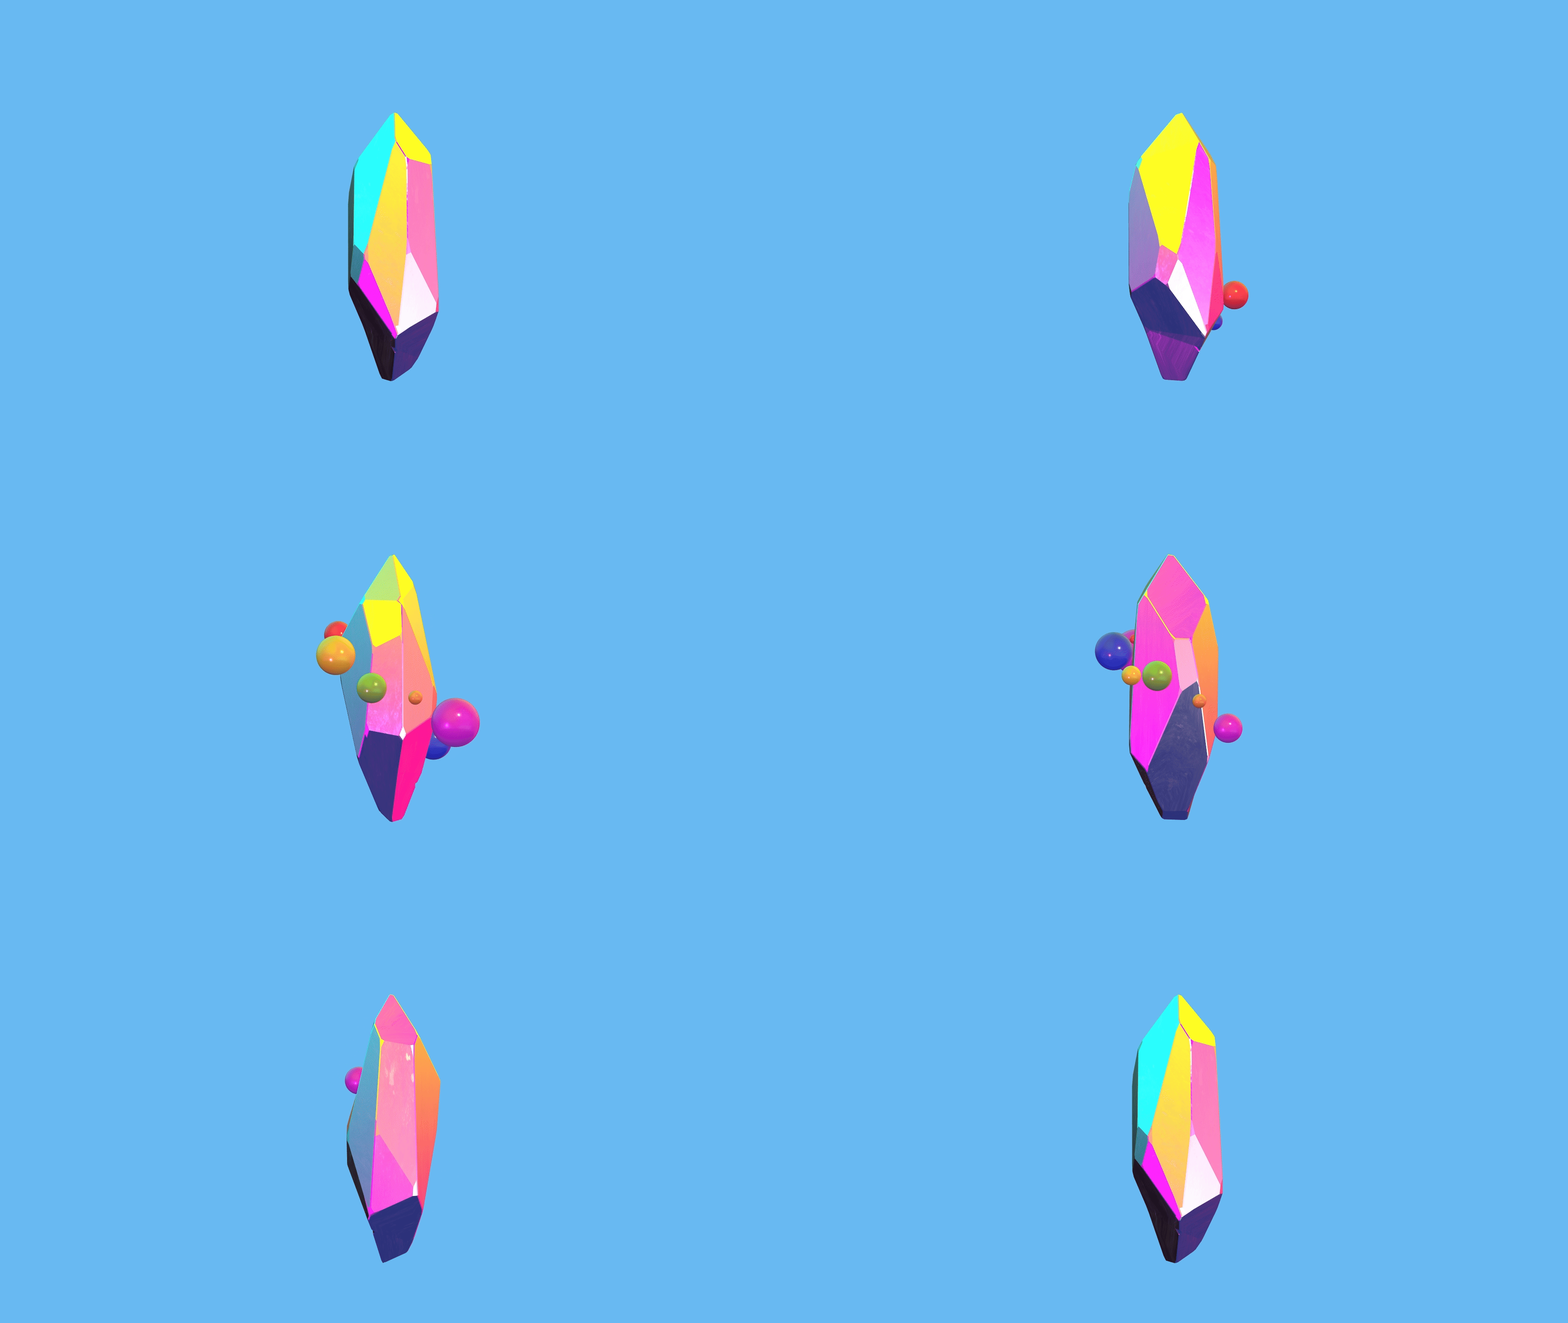
I took the first leap of faith bypassing the infamous “Donut Tutorial” - heresy! - while following a course on Motion Design School, now that I finally had the time to follow one of the courses I picked up over the years. Course lesson 1 was carving out, applying HDRI maps to, and animating the chunky rock seen above.
I am yet to see what course lesson 2 entails, because I immediately went off to do my own thing right after.
Listen; I’ve followed enough tutorials to know what happens when you follow a whole 4+ hour step-by-step course from beginning to end. You get to the end of a wonderfully thought out and curated process and don’t remember a single thing when you try to apply it. Carving out that crystal was cathartic and fun, so I wanted to try it again and again. Taking inspiration from an MMO I’ve put a shocking number of hours in, I quickly came up with a new way to practice.
The urge to jump straight into the deep end on shaders is tempting, but staring at an array of nodes for ‘procedurally generated cracks’ for an hour did me in. Apparently crystal/glassy type materials are a huge pain to start with, and of course that was the first thing I set out to do.
If you know, you know; but do NOT acknowledge that either of us know.
But almost 5 hours later (1 hour making the mesh and 4 hours of failed shader experiments) I had something that I made and fought with from start to finish. I learned about the pain of untriangulated faces while trying to manually add some wear and chipping, I did the engraving in such a backwards way (cough cough knife tool) that I swore to look up the proper way to do it next time, and I floundered my way through the skybox sun settings because the standalone renders were too dark and I couldn’t find out why.
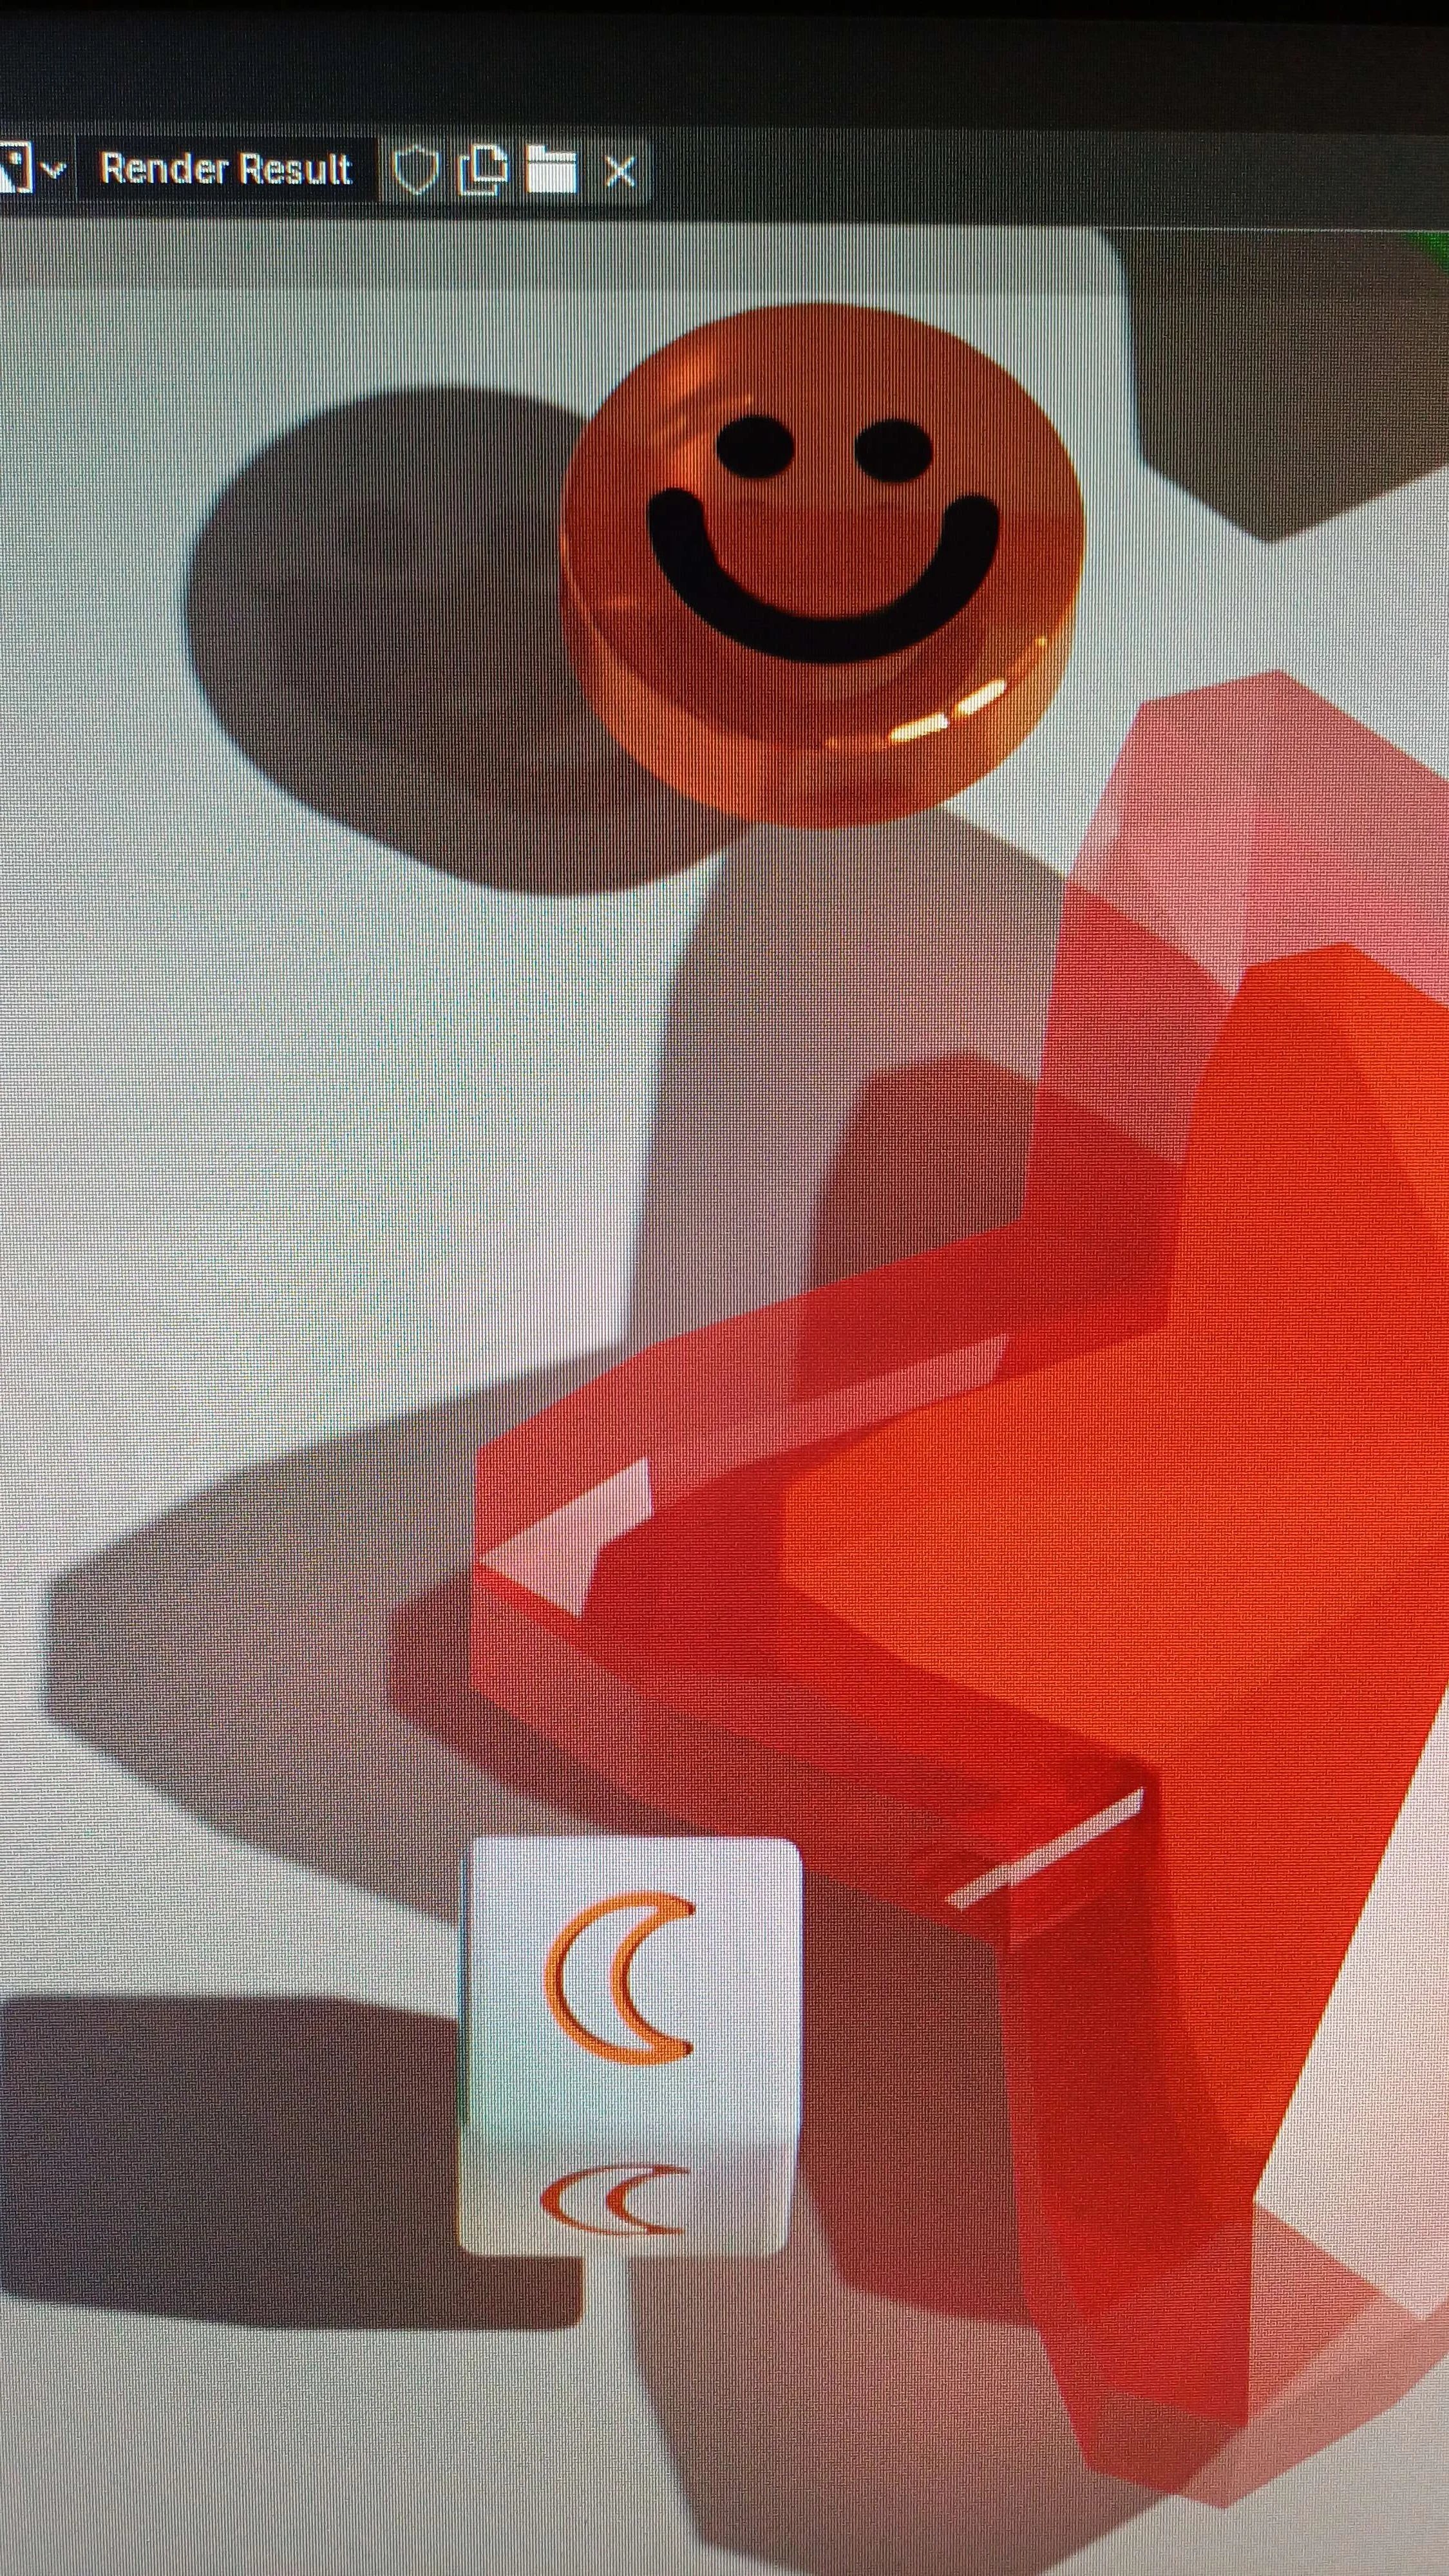
But I jumped back in again. This time, with some memory of the different nodes I played with and eventually scrapped, but with a lot more subtlety this time. I learned how to import SVG files and convert them into something I can ‘engrave’ into a face using Boolean modifiers (I also learned about Boolean modifiers). I figured out how to use an area light plane to make a better glow. And I did it all in half the time!
Learning about (procedural) edge wear is next on my to-do list, so that these look just a little less uncanny.
At this point I finally did the donut tutorial, and learned about all the ways I did things incredibly inefficiently. But I think it was a good thing that I did it this way, because the epiphanies will stay with me much longer than blindly following 4 hours of instruction will.
Something that feels like a thorn in my side at every press of the F12 key is the seemingly inescapable ‘plastic’ feel. It didn’t matter how carefully I applied normal maps and balanced the metallic vs roughness properties, it felt like the end result couldn’t get any better than an upscaled Toy Story 2 screenshot.
So now, I’m working with plastic ON PURPOSE, and at least 3 different ‘kinds’ of plastic at that. Truth be told, it’s the most fun with a new tool that I’ve had since learning AfterEffects for the first time; it feels like ideas are rushing in at a million miles a minute and I can’t wait to find out how to “solve the puzzle” of a new material density or sheen.
This was a long one, because I crammed a week’s worth of what felt like eureka moments every hour, on the hour. I dare hope that this will be the start of a new personal hobby, if nothing else.
Week 1 roundup!


